When I first saw this week’s Elearning Heroes Challenge, my initial reaction was “Pshaw. I could do something better with my time.” But, then I thought, what a great chance to make an introductory video about myself, do a little reflection, try my hand at videography, and practice storytelling. Alright, I’m in.
Error: VideoService could not be found
Inspiration
Almost as soon as I saw the challenge announcement, I thought about Lifehacker’s series of How I Work interviews. These short article interviews with creative types of all kinds of different fields are always an interesting read. Through the questions, we the readers get great insight into the work habits and creative processes of really cool people and, through that, we are prompted to look at how we can improve our own processes. That’s what got me thinking. As I look for more ways to show my work and practice my creativity, this challenge represented a golden opportunity. I’d also seen several tweets from StillMotion recently and one of the latest was on how to light an interview. It was obvious that the Universe wanted me to give the challenge a try. Furthermore, this article prompted me to consider doing the challenge in the style of one of those gorgeous interview vids you often see of film animators or philanthropists. Now, video has always been something that I’ve shied away from creating. I’m not sure why exactly, everyone shoots videos these days. I guess I didn’t want to create anything crappy. But with the help of this challenge, and hopefully some more tutorials from folks like StillMotion, I hope to get over that.
My Setup
I used what I had at my disposal:
- my iPhone,
- some natural light from the first sunny day we’ve had in a while,
- my ceiling fan lights and beside lamp,
- and some cardboard boxes stacked on my bed (which is probably why the video looks a little askew).
I tried outside first, but it was, by turns, too sunny and too shadowy. In short, the light was all wrong. So, I thought I could shoot indoors, but where? Well, my workroom has the most light but not much on the walls so I didn’t like the background. I moved the production to my bedroom. Well, the scenery was better but the lighting left something to be desired. I opened the blinds on the one and only window and turned on my ceiling fan lights. It was okay but, after recording my answers the first time, I noticed a lot of shadow on my face. I wasn’t happy at all. Try try again. This time, thinking more about the StillMotion tutorial and working with my own meager supplies, I hit upon the idea of putting my bedside lamp on top of the box, facing me. It’s not perfect but it worked pretty well. I’m happy with the result, slight tilt aside. As I said, I wanted to get that typical interview video look so I also set up my copy of Fellowship of the Rings (Why that? Because it was nearby.) on another box on my bed and stared at the spine as I answered the questions to give the appearance of talking to an interviewer just off-screen.
My Process
I decided up front that I would record modularly. That’s something I learned a while back. Record in chunks so that, if you don’t like any one part, or you make a flub, you only have to re-record a small bit. Works for audio too! Anywhoodle, at first, I wanted my answers to be off-the-cuff but, after watching my first attempt, I really didn’t like it. I didn’t want to sound practiced, of course, but I wanted to have an idea of what I would say. I wrote up some answers first and kept them nearby, then ad-libbed as I re-recorded myself. As I cut the video, I noticed all my verbal pauses. But, hey, you can’t win ‘em all.
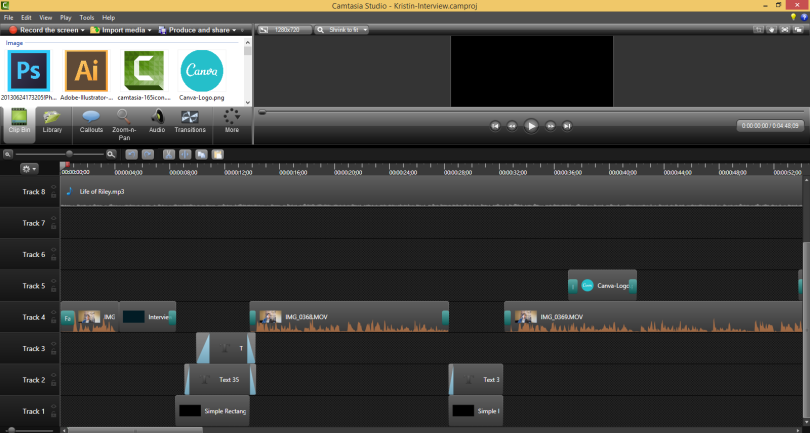
The Final Cut
In keeping with my whole professional interview vision, I knew I wanted to have a sort intro video. I dug into some free After Effects templates I found and chose an intro one that I liked (you can view those on my Pinterest board). Other than that, everything else was done using Camtasia. I remember watching a webinar on making good video a couple of months ago and one of the things I’ll always remember about it was the admonition to do simple cuts. I’ve taken that to heart and it’s proved really effective. A few fades, here and there, but mostly the scene is composed of cuts. I uploaded the video to Vimeo. However, since, even after turning the music all the way down and the video audio all the way up in Camtasia, there are still some really low parts, I decided that it was essential to provide captions. My script would have been next to useless so I simply typed what I heard using Amara and uploaded that file to video for the captioning process. I wanted make a separate caption file instead of using Camtasia’s internal tool so that I could host the video on Vimeo and not have to host it myself.
That’s it. All in all, I’d estimate my time on this project to be between 5 and 6 hours. What did you think? Stay tuned for more videos. I’m not scared of them anymore!